

Table of contents
To begin exploring Web3, you need a decentralized wallet. Web3 wallets are digital wallets that allow users to interact with Web3 applications. They store and manage digital assets such as cryptocurrencies and NFTs. A wallet isn’t precisely what stores your assets; it only enables you to store them on the Blockchain and retrieve them whenever you wish. Like everything in Web3, it’s built on the decentralized technology of the Blockchain.
There are a lot of apps out there that you can use to create Web3 wallets, some of which are EVM-compatible and some of which are not. EVM-compatible wallets work seamlessly with Ethereum and other networks built on similar technology. We'll dive more into this topic when discussing Blockchain networks later in the series.
Some popular wallet apps include Metamask, Martian Wallet, Trust Wallet, Phantom, etc. In this guide, we’ll focus on an app called Zerion, whose EVM compatibility makes it ideal for interacting with decentralized applications (dApps) on Ethereum and similar networks. Zerion is a great wallet with a user interface that’s easy to navigate and a superb user experience, making it easy for newbies to explore Web3.
How to Set Up Zerion on Android:
Ready to make your first move into the world of Web3? Follow these simple steps to set up your Zerion wallet on Android.
Head to Google Playstore and install the app.
Find the Get Started button at the bottom of the screen and tap it to begin.
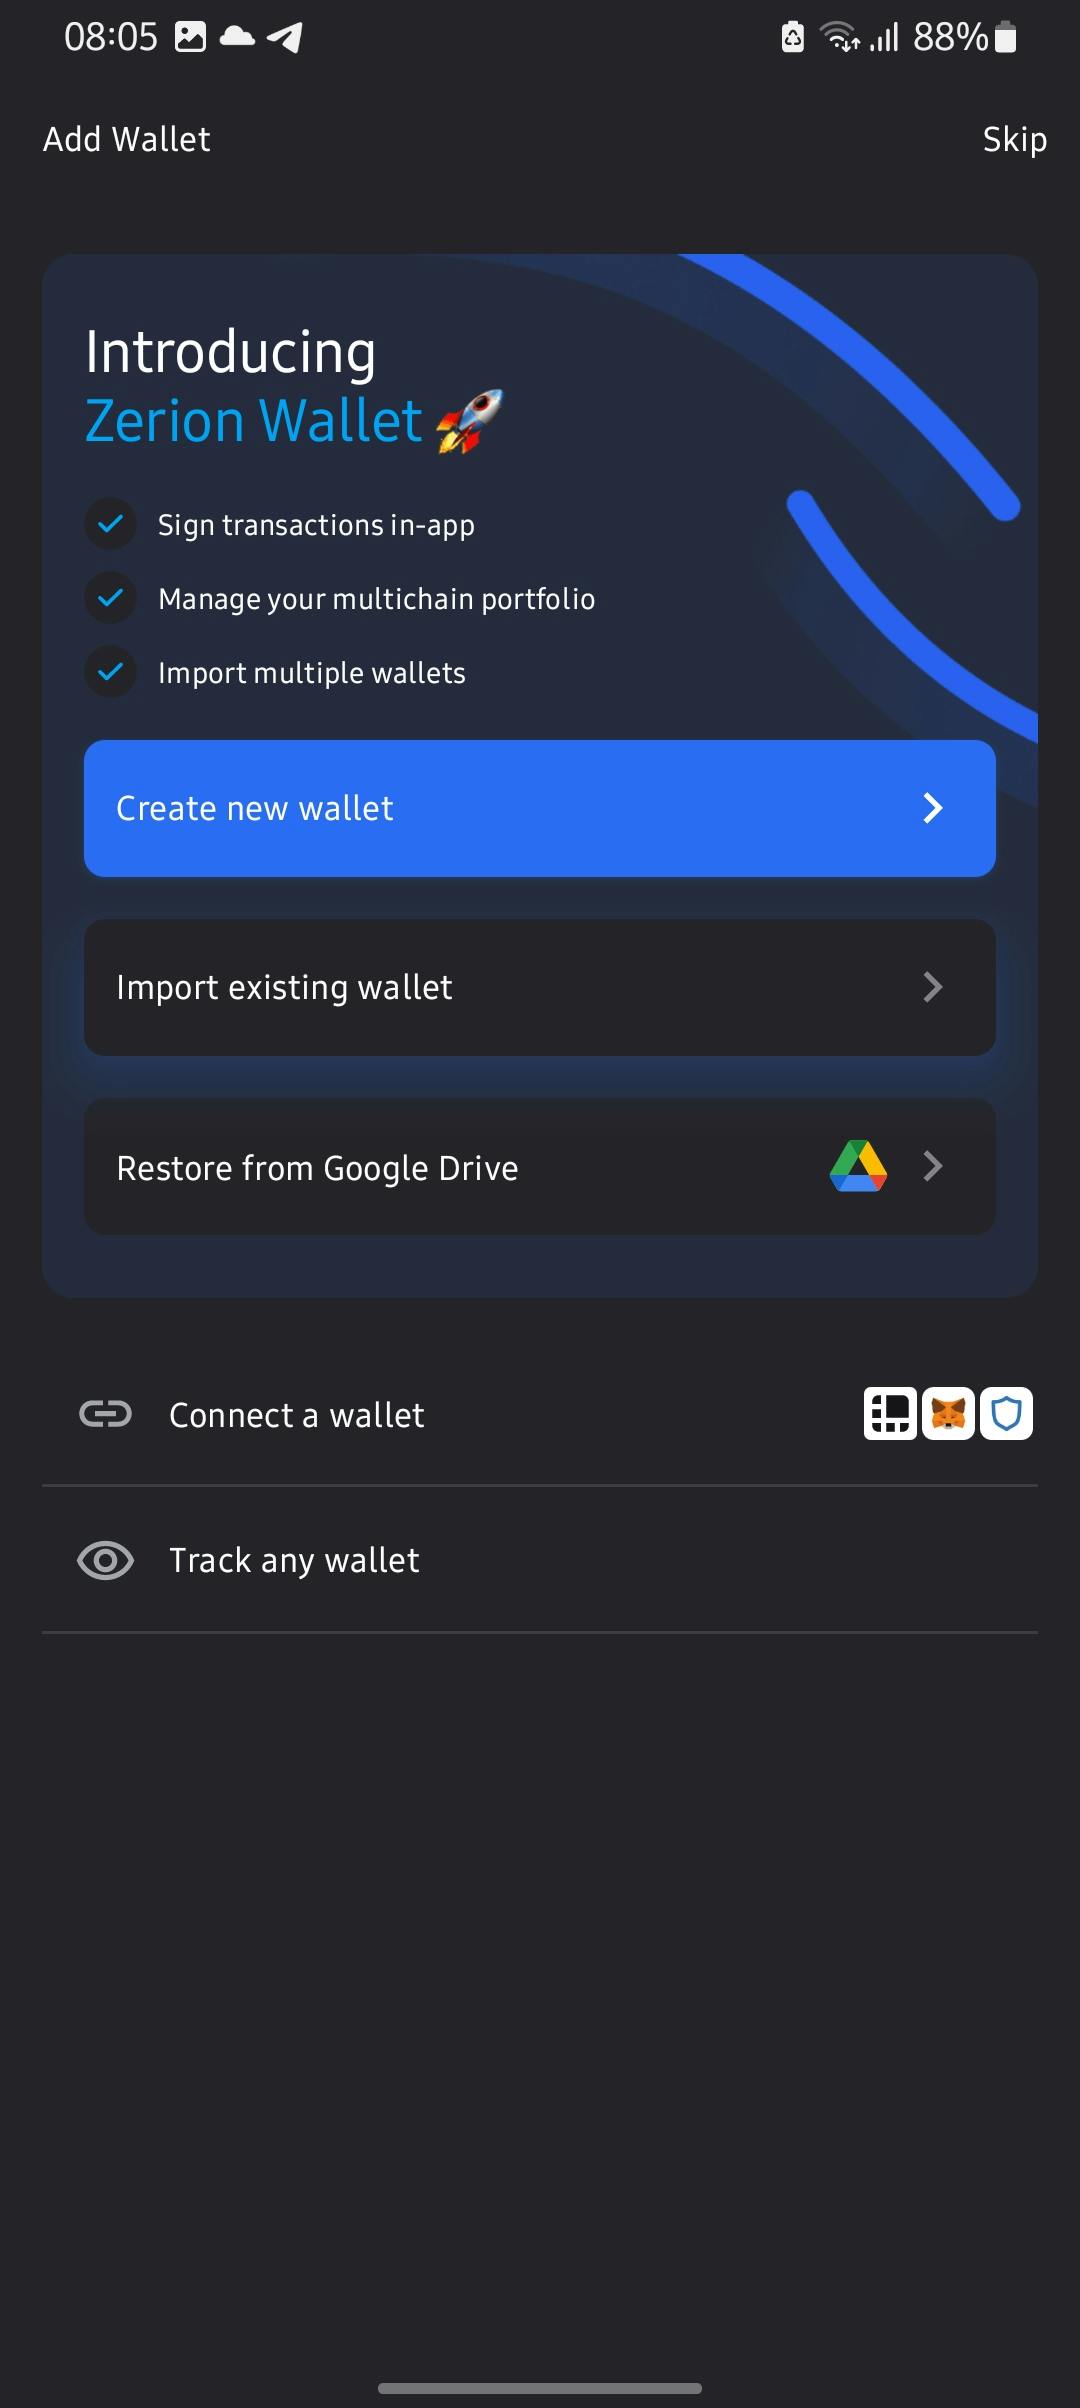
You’ll be shown a list of options to pick from:
• Create new wallet to create a brand new wallet on the Blockchain.
• Import existing wallet to import a wallet you’ve created before, so you can access all its assets within the app.
• Restore from Google Drive to restore a wallet you’ve backed up before to Google Drive.
• Connect a wallet which will allow you to link a wallet app you already have on your phone to your Zerion app.
For this tutorial, we’ll go with the option of creating a new wallet.
Once you click that, you’ll be taken to a new page to secure your wallet:
• Choose a unique 6-digit passcode to protect your app from unauthorized access.
• Also enable fingerprint authentication if your device supports it.
Zerion will proceed to generate your wallet and display your unique address which is essential for sending and receiving cryptocurrency assets.
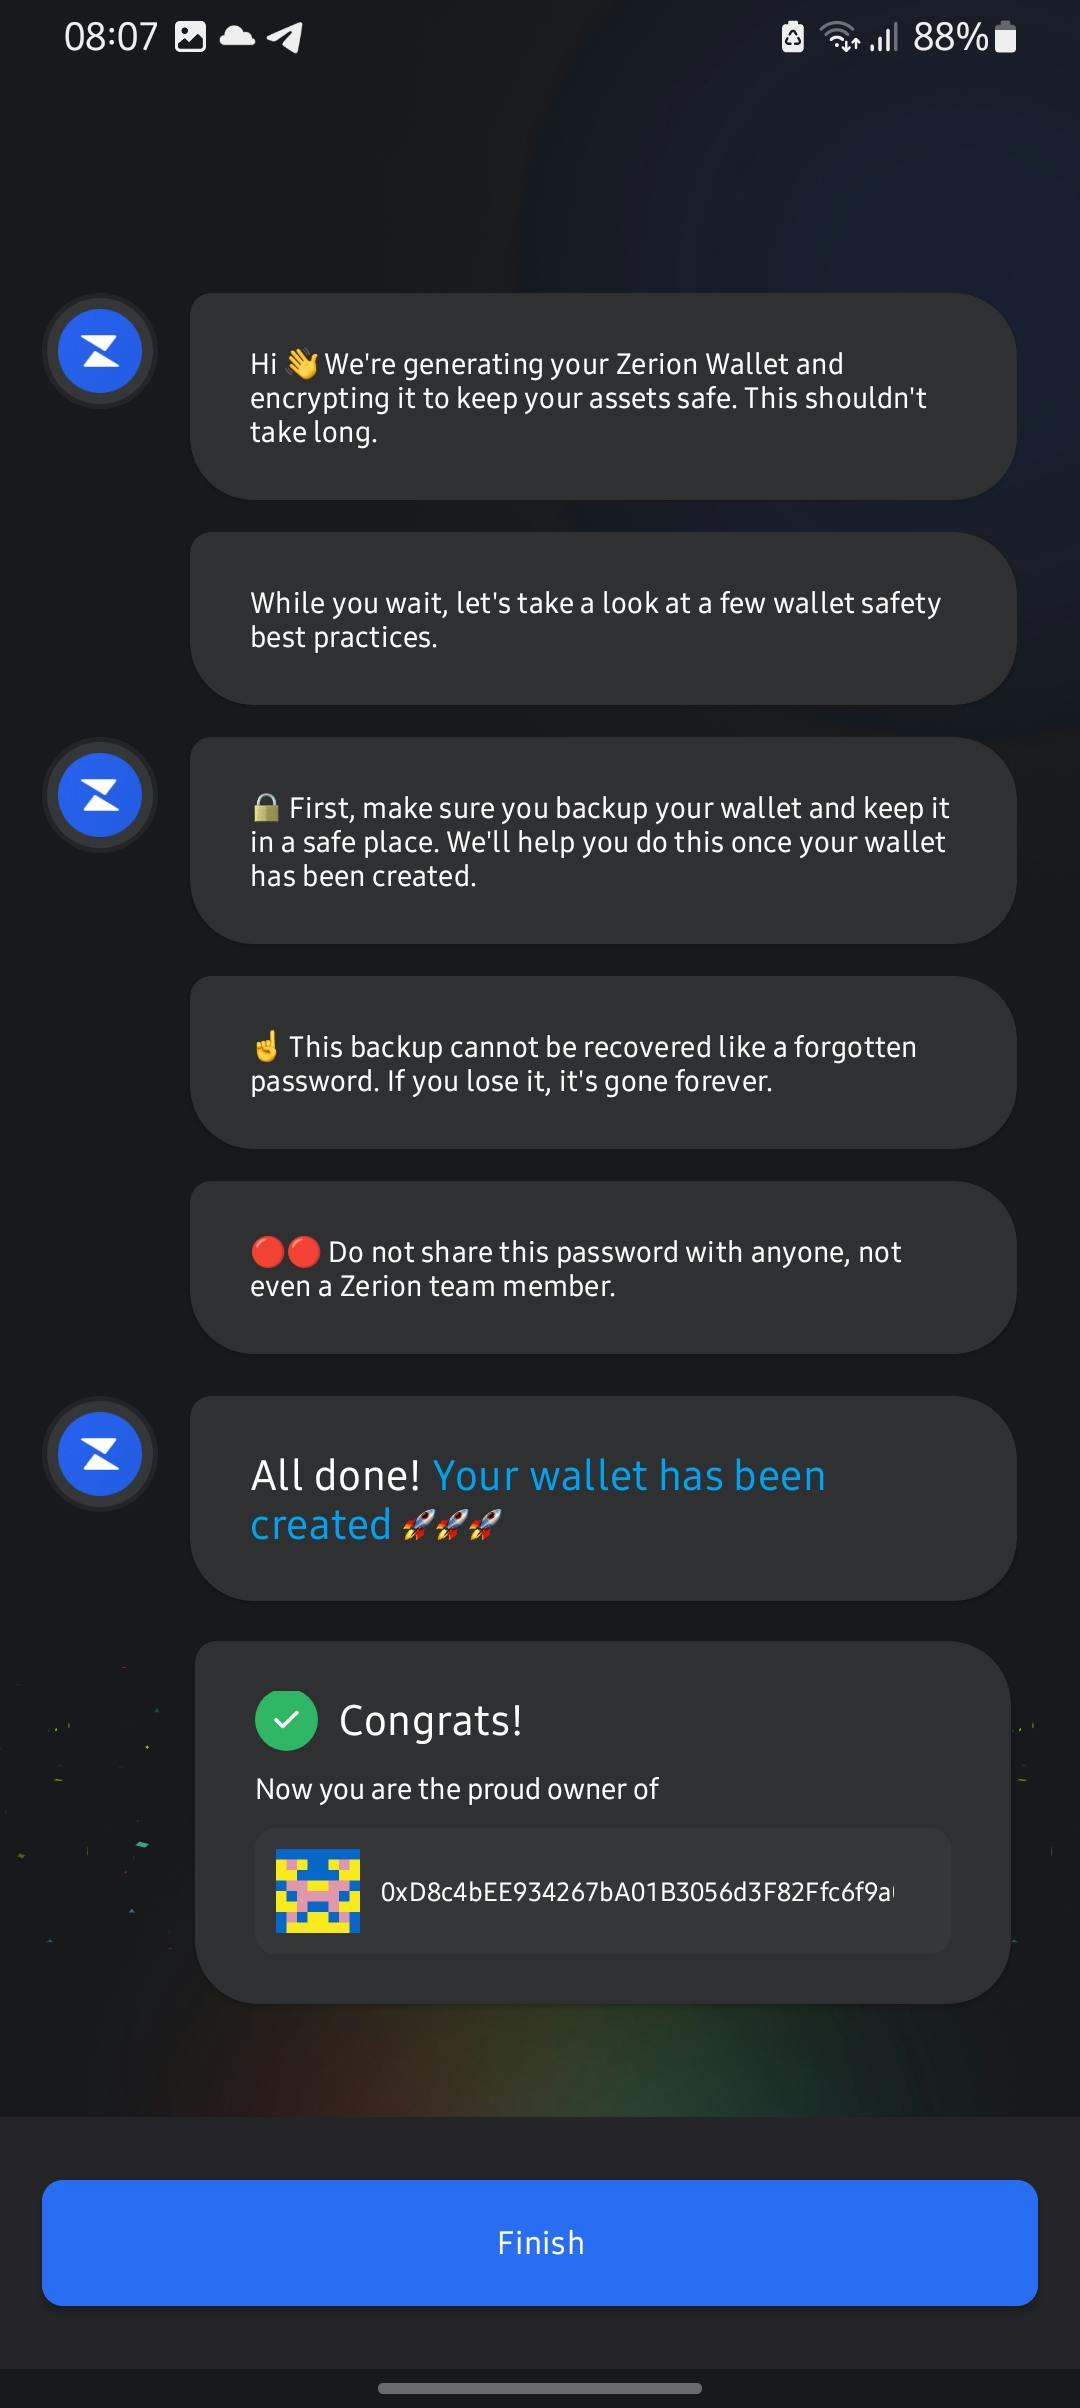
Click the Finish button and you'll be taken to the home page. A small message will pop up at the bottom of your screen asking you to secure your wallet by backing up its seed phrase or to take a risk and skip. It's absolutely essential that you back up your wallet as soon as you create it, to protect your assets. Do not proceed without completing this step.
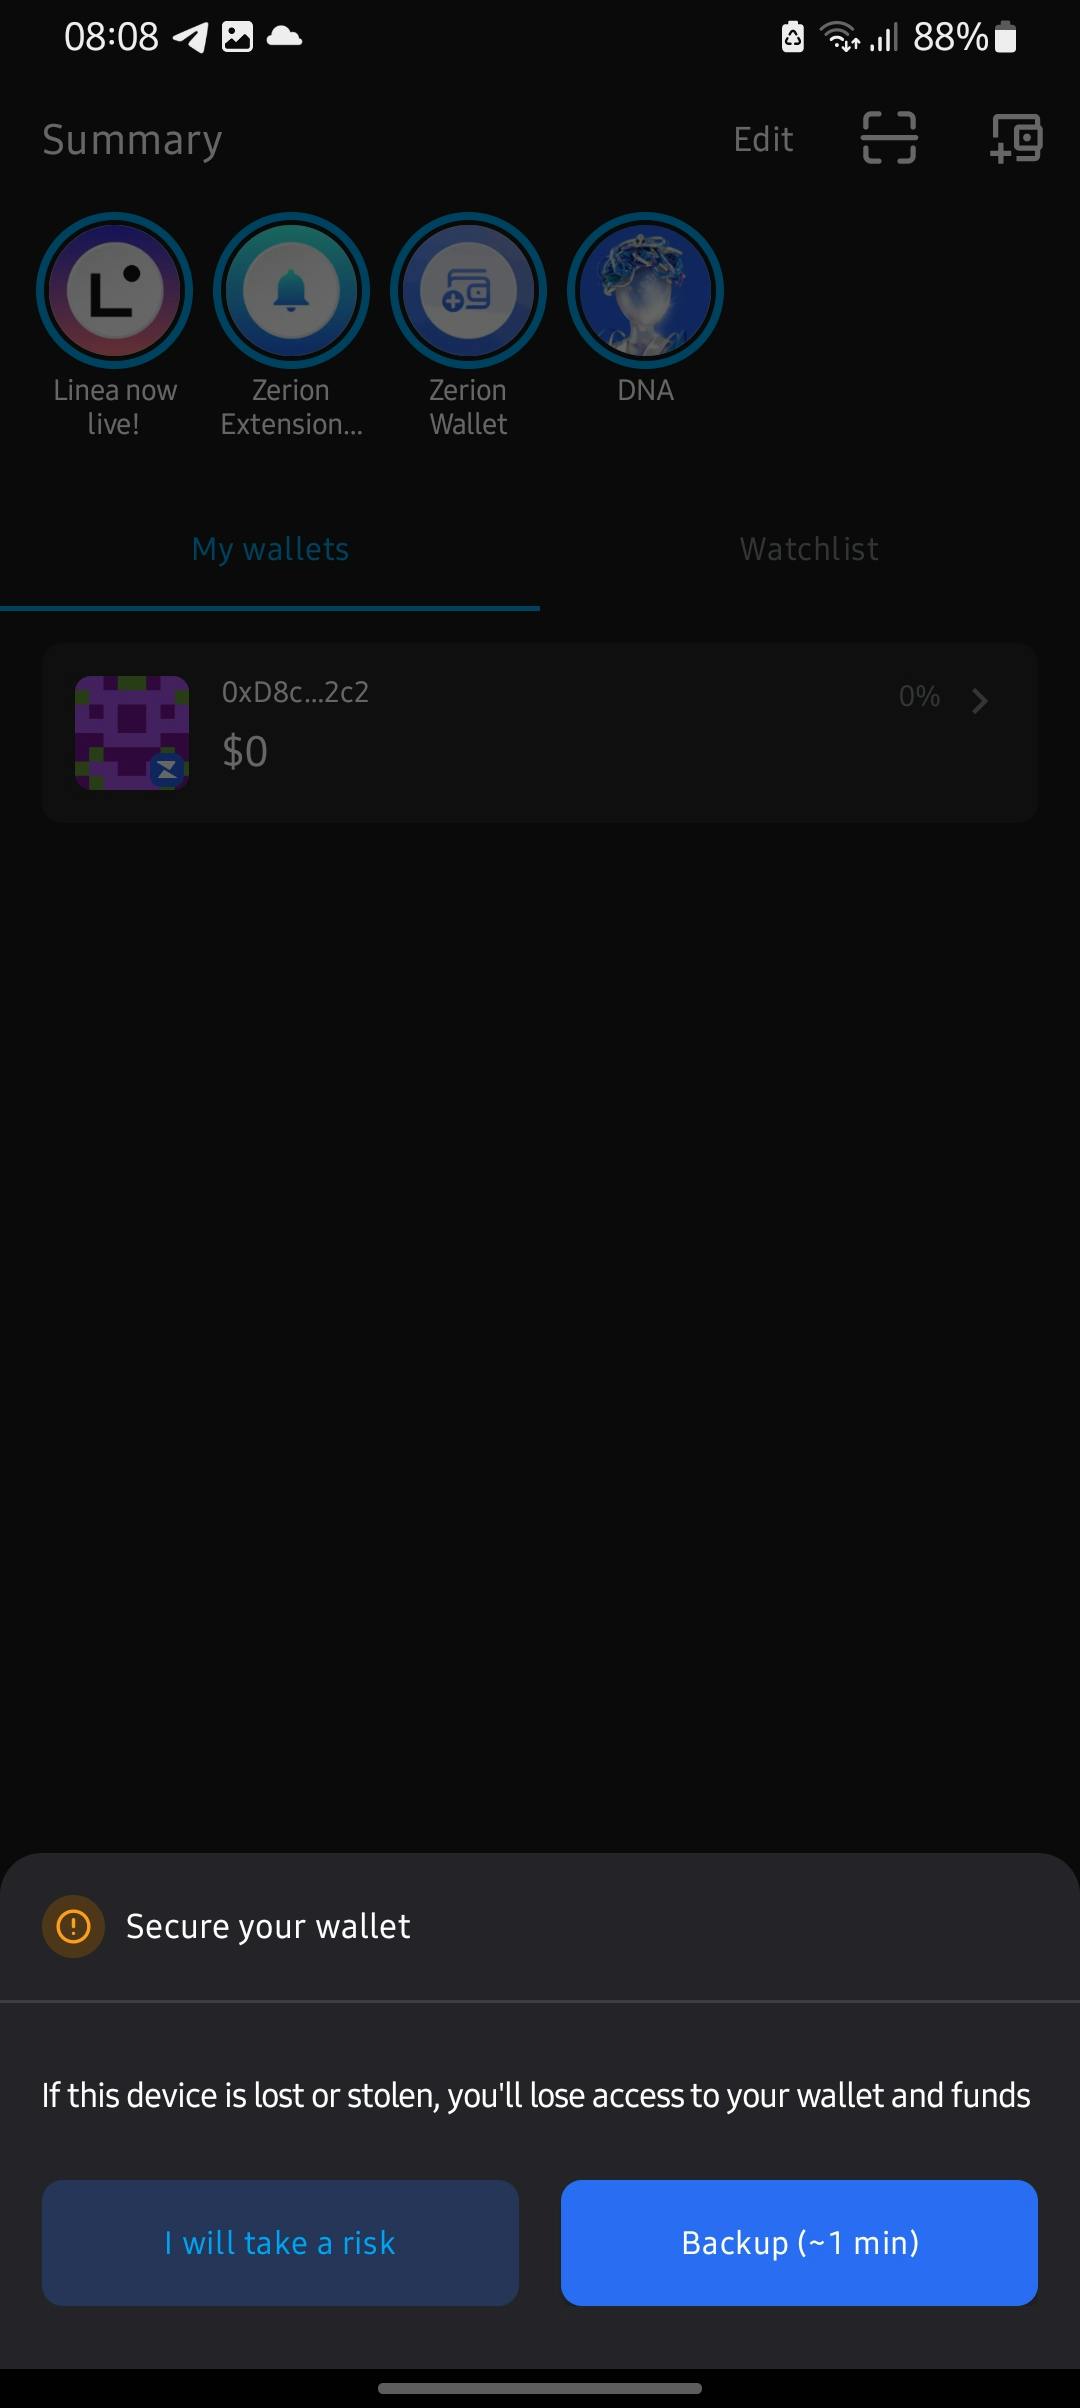
Your seed phrase is a series of 12 words that allow you to access your wallet if you ever lose your device or if you wish to import it into a different phone or wallet app. Anyone who has this phrase can also access your wallet.
Zerion offers two backup methods: Google Drive and Manual Backup.
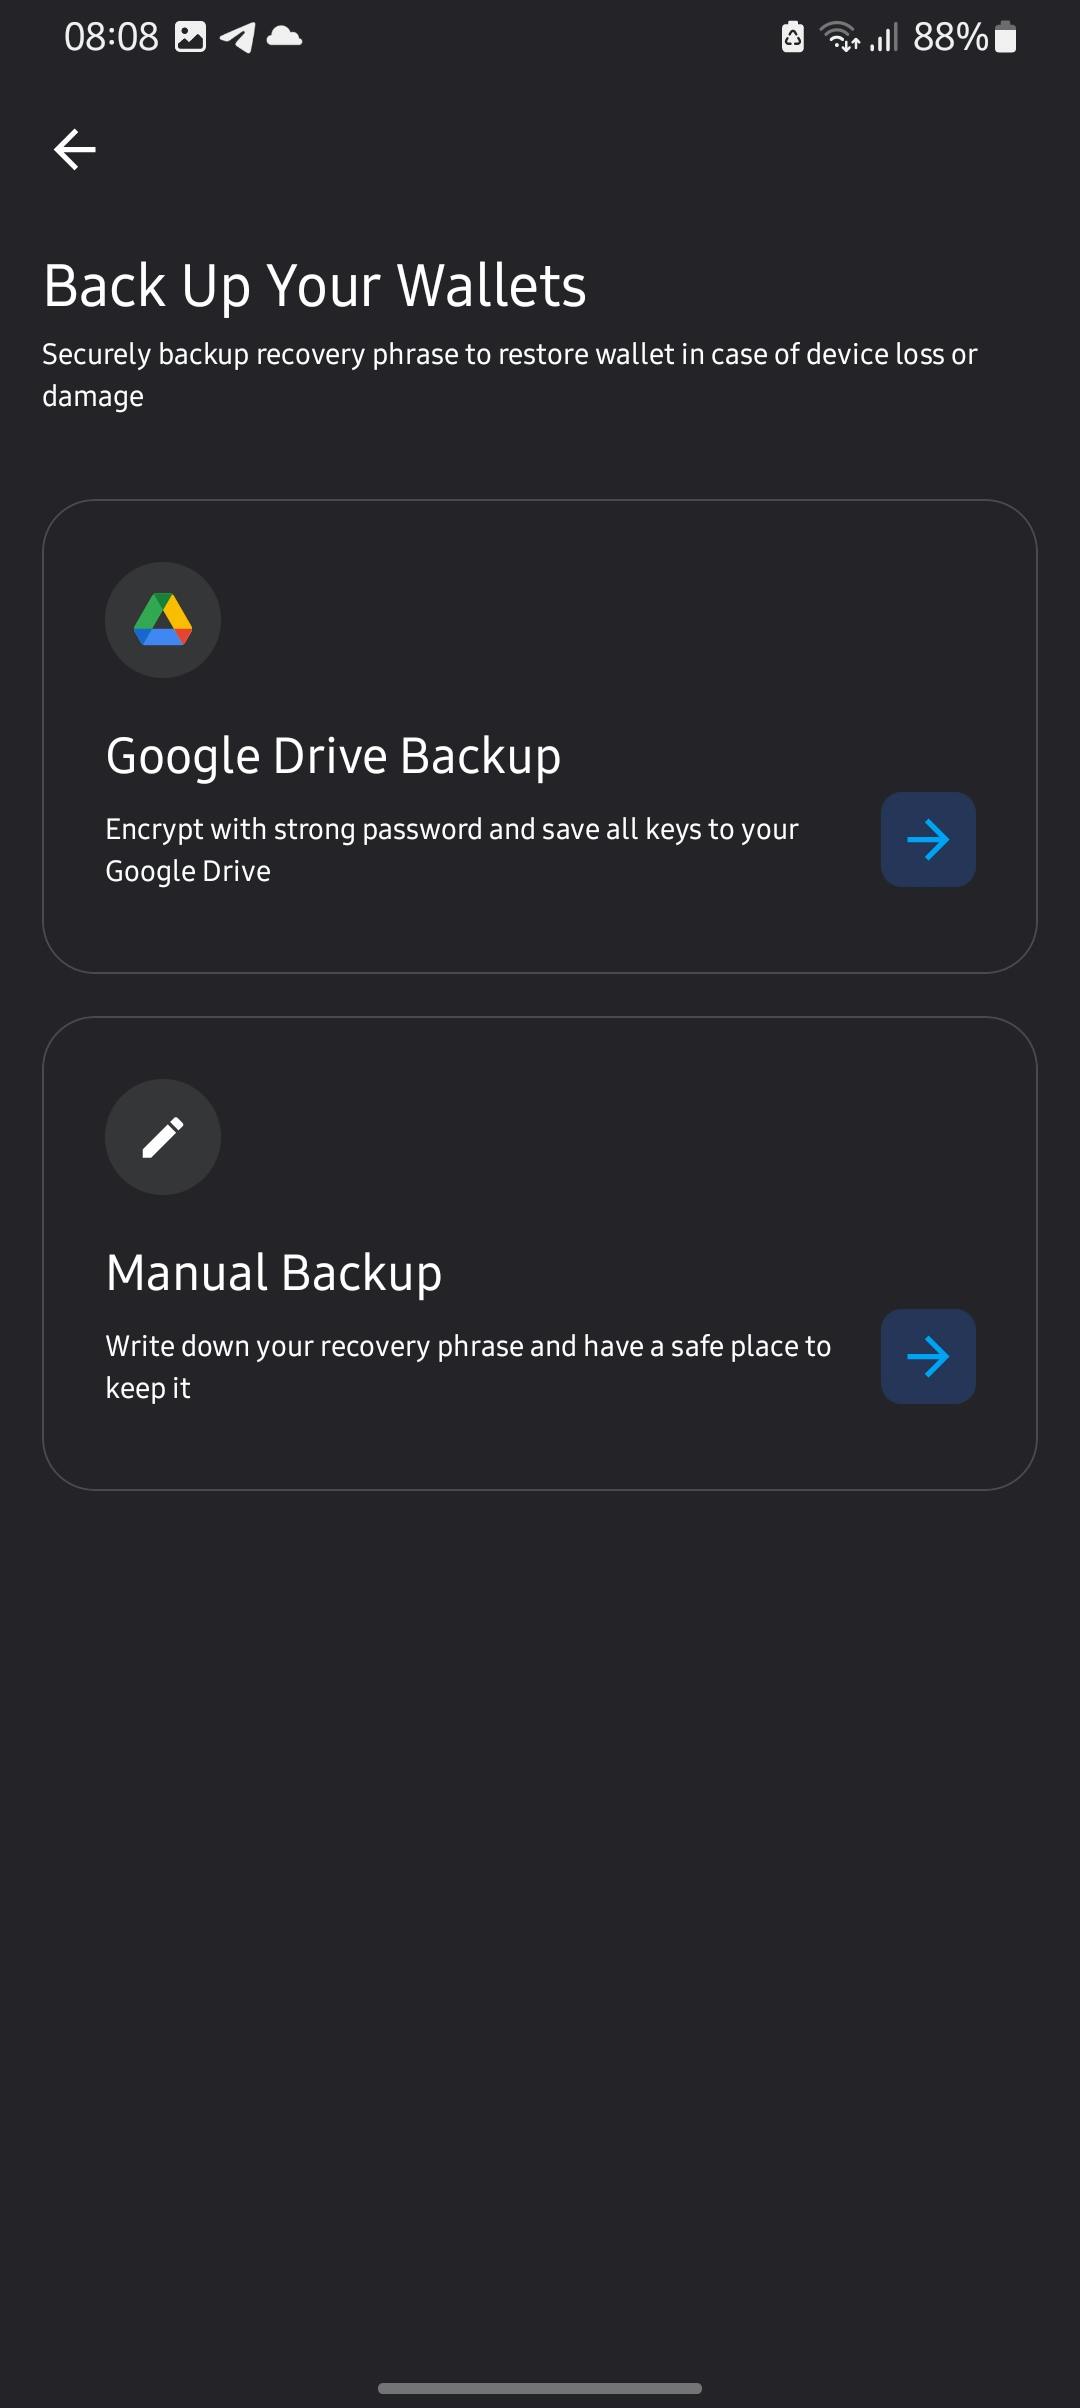
Google Drive:
• Easy and convenient.
• Your seed phrase is vulnerable to hackers.
Manual Backup:
• Much safer.
• Requires careful storage.
Manual Backup is the recommended option, so select this. When Zerion generates your seed phrase, write it down on a physical material (a piece of paper or card) and store it safely somewhere. Ensure you write the words accurately and in the correct order.
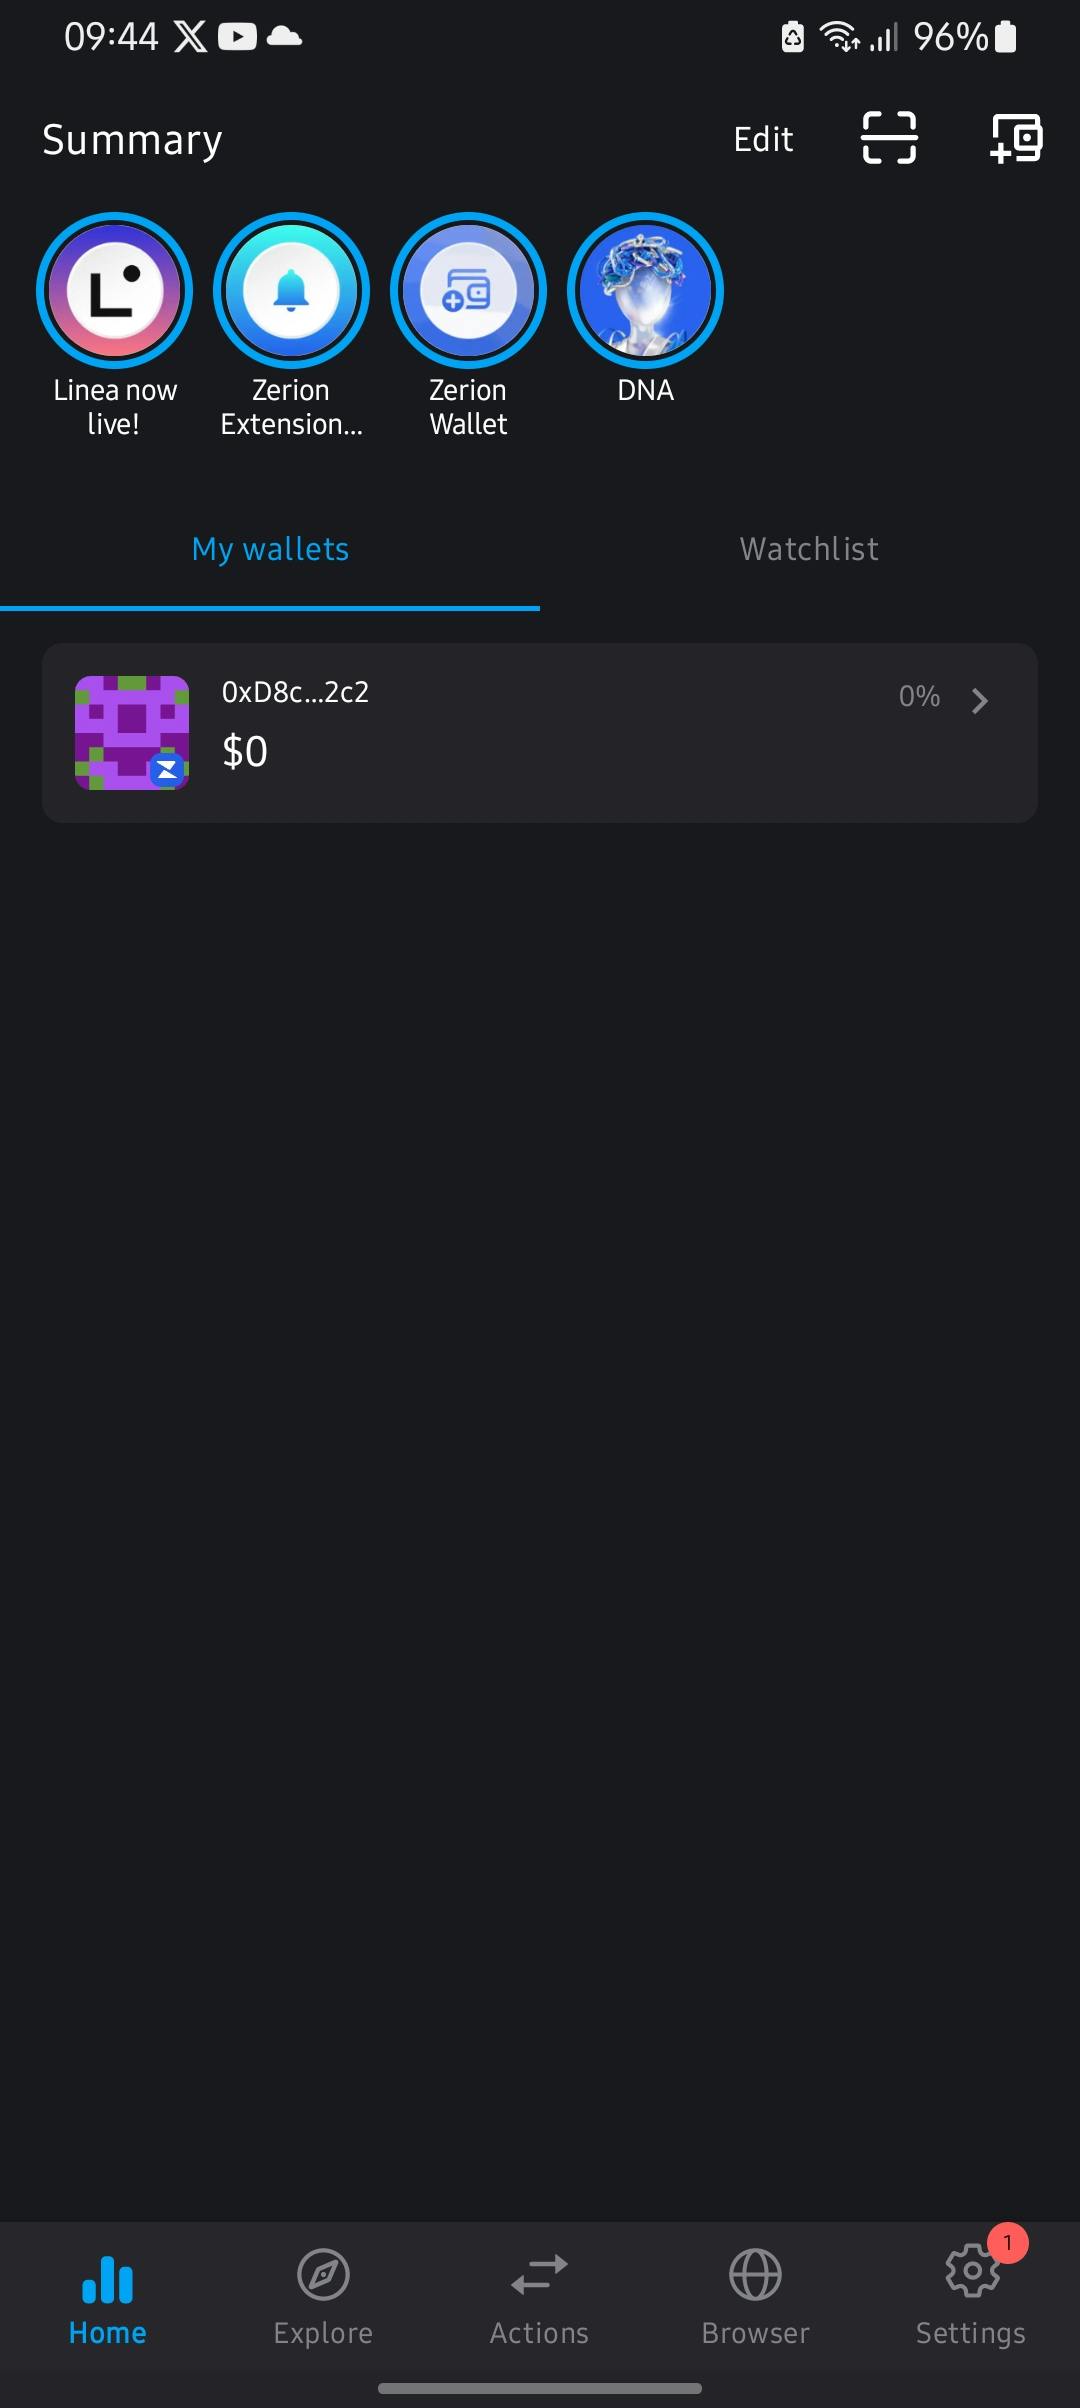
Click the button at the bottom when you’re done. To ensure you've accurately recorded your seed phrase, Zerion will bring up a little quiz for you to verify your phrase. When you’ve successfully verified the phrase, it will take you back to the home page.
Congratulations, you’ve successfully set up your first wallet! 🎉
How to Set Up Zerion on PC:
To use Zerion on your PC, you have to install it as an extension on your Chrome browser. While the Zerion Extension offers the same seamless user experience as the Zerion App, the user interface slightly differs, and that’s what I’ll be guiding you on. Here are the steps:
Head to Chrome Web Store and install Zerion.
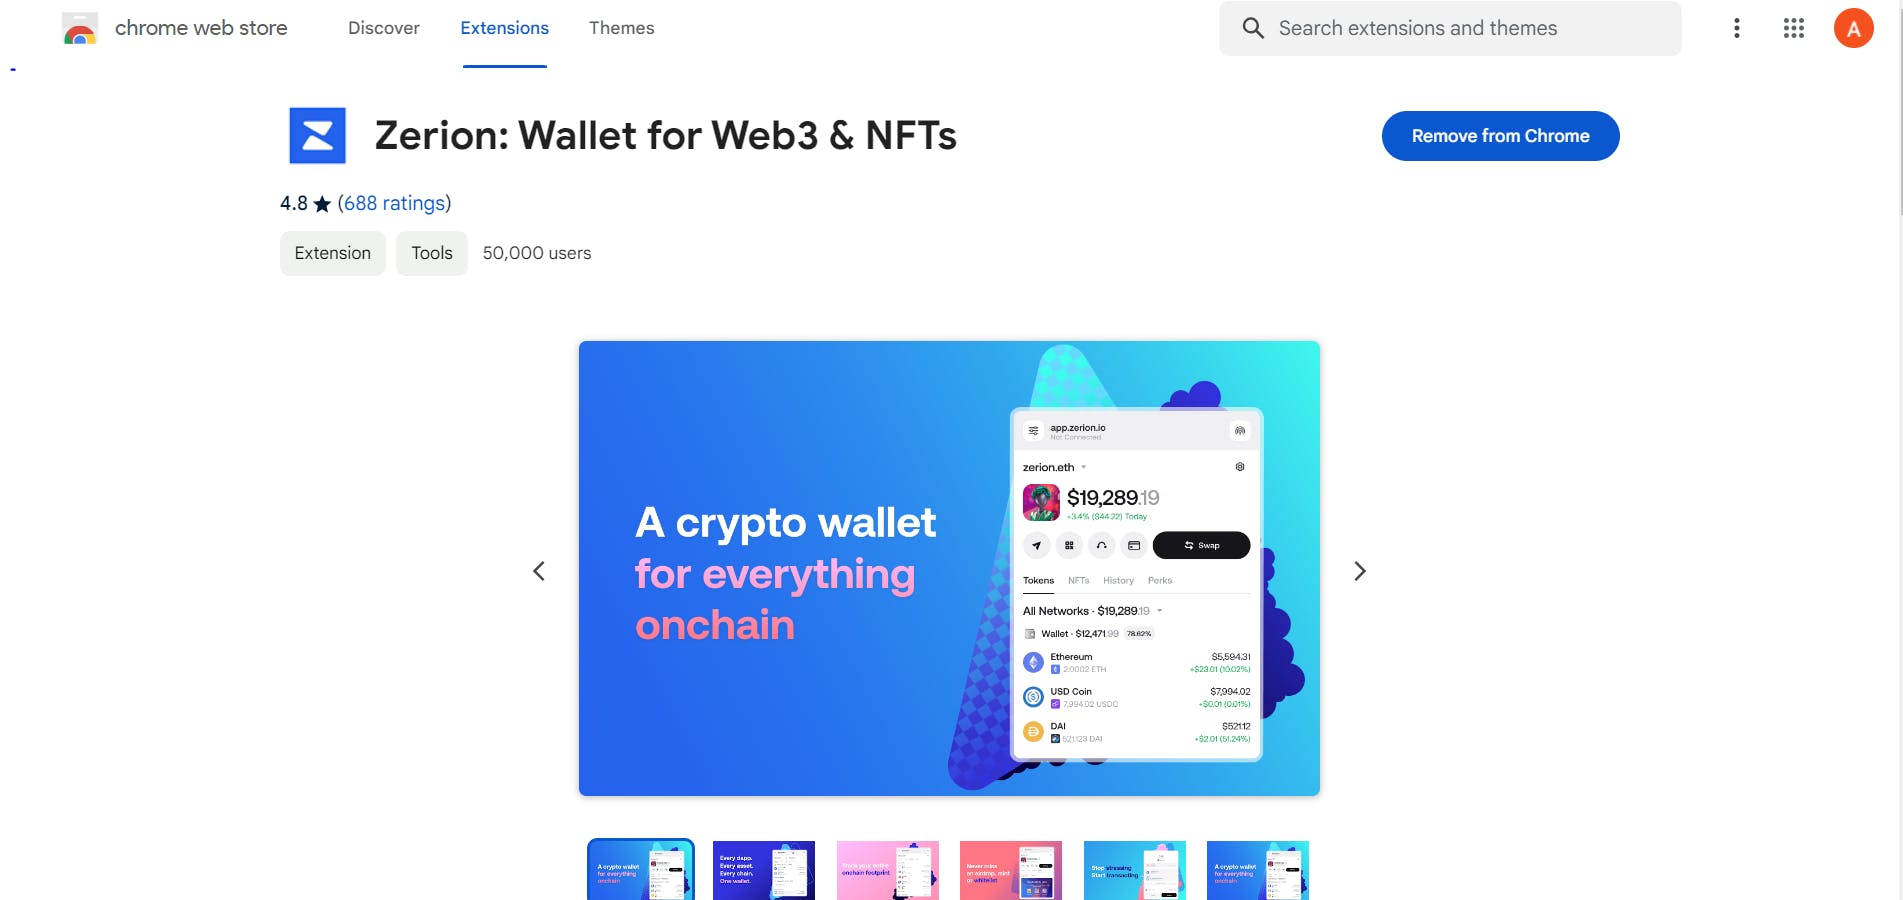
Tap on the Extension icon (shaped like a puzzle piece ) on the top-right corner of your browser and search for Zerion among the list. Click on it to launch it.
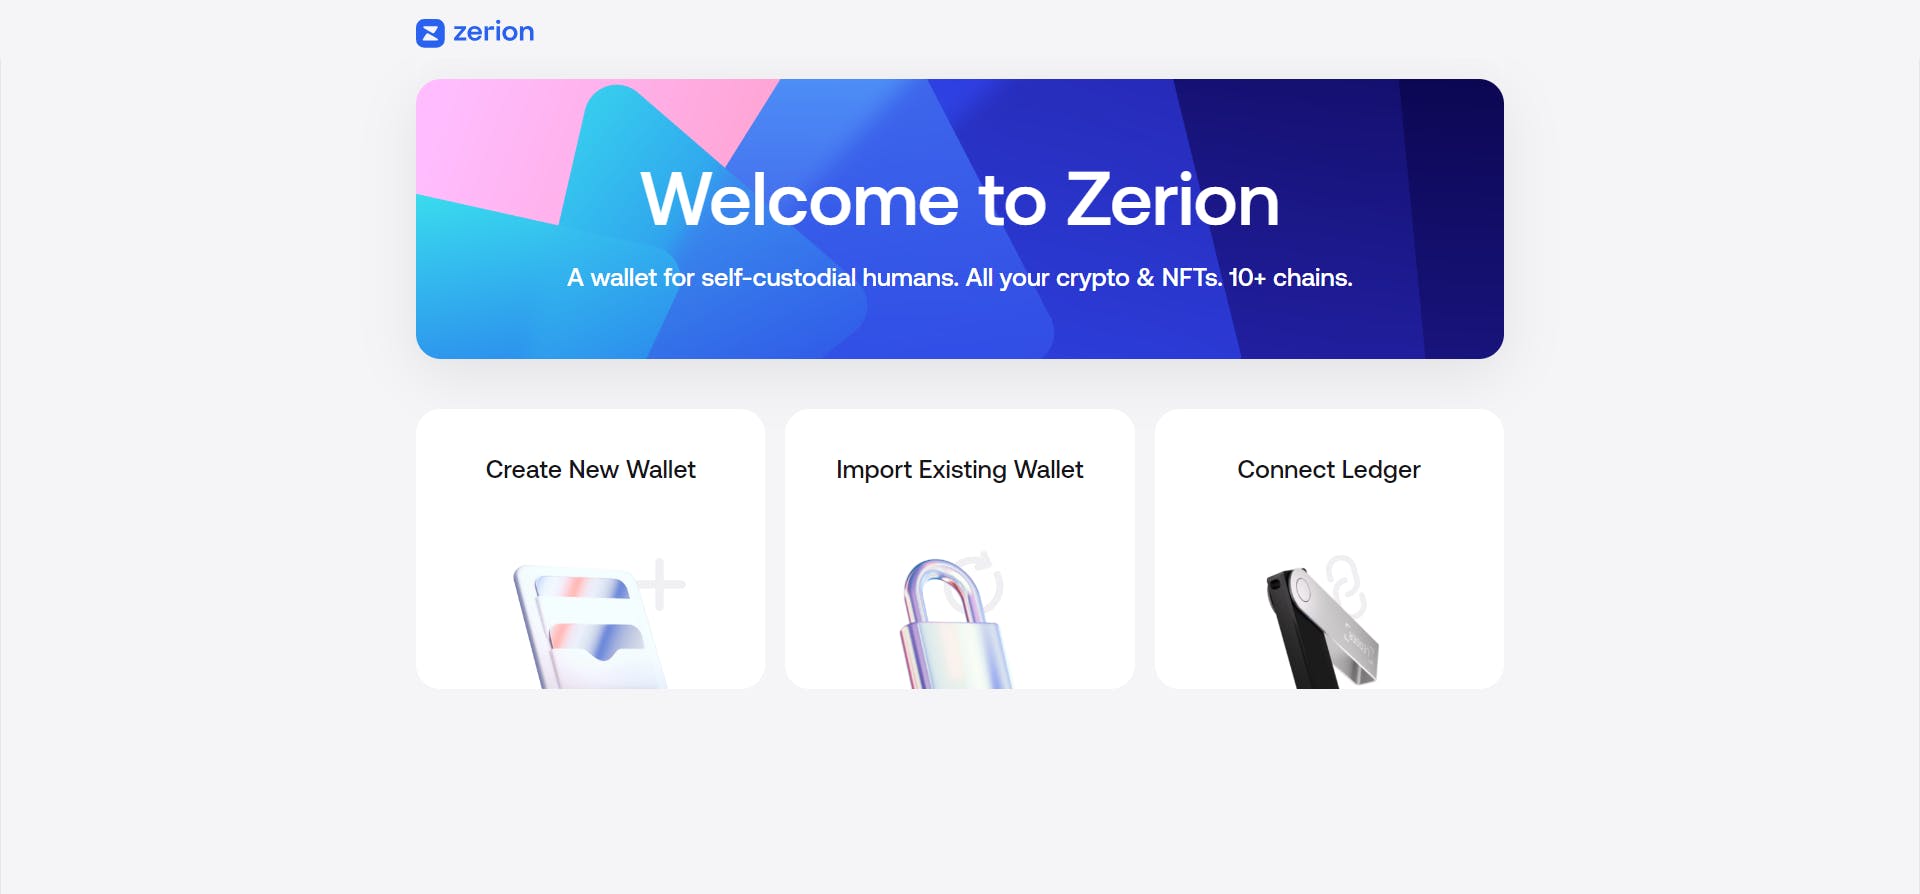
You’ll get an array of options similar to mobile to proceed with.
Create New Wallet
Import Existing Wallet
Connect Ledger: A ledger is a hardware wallet that stores your assets offline. We’ll discuss this later in the series.
Pick the option to create a new wallet.
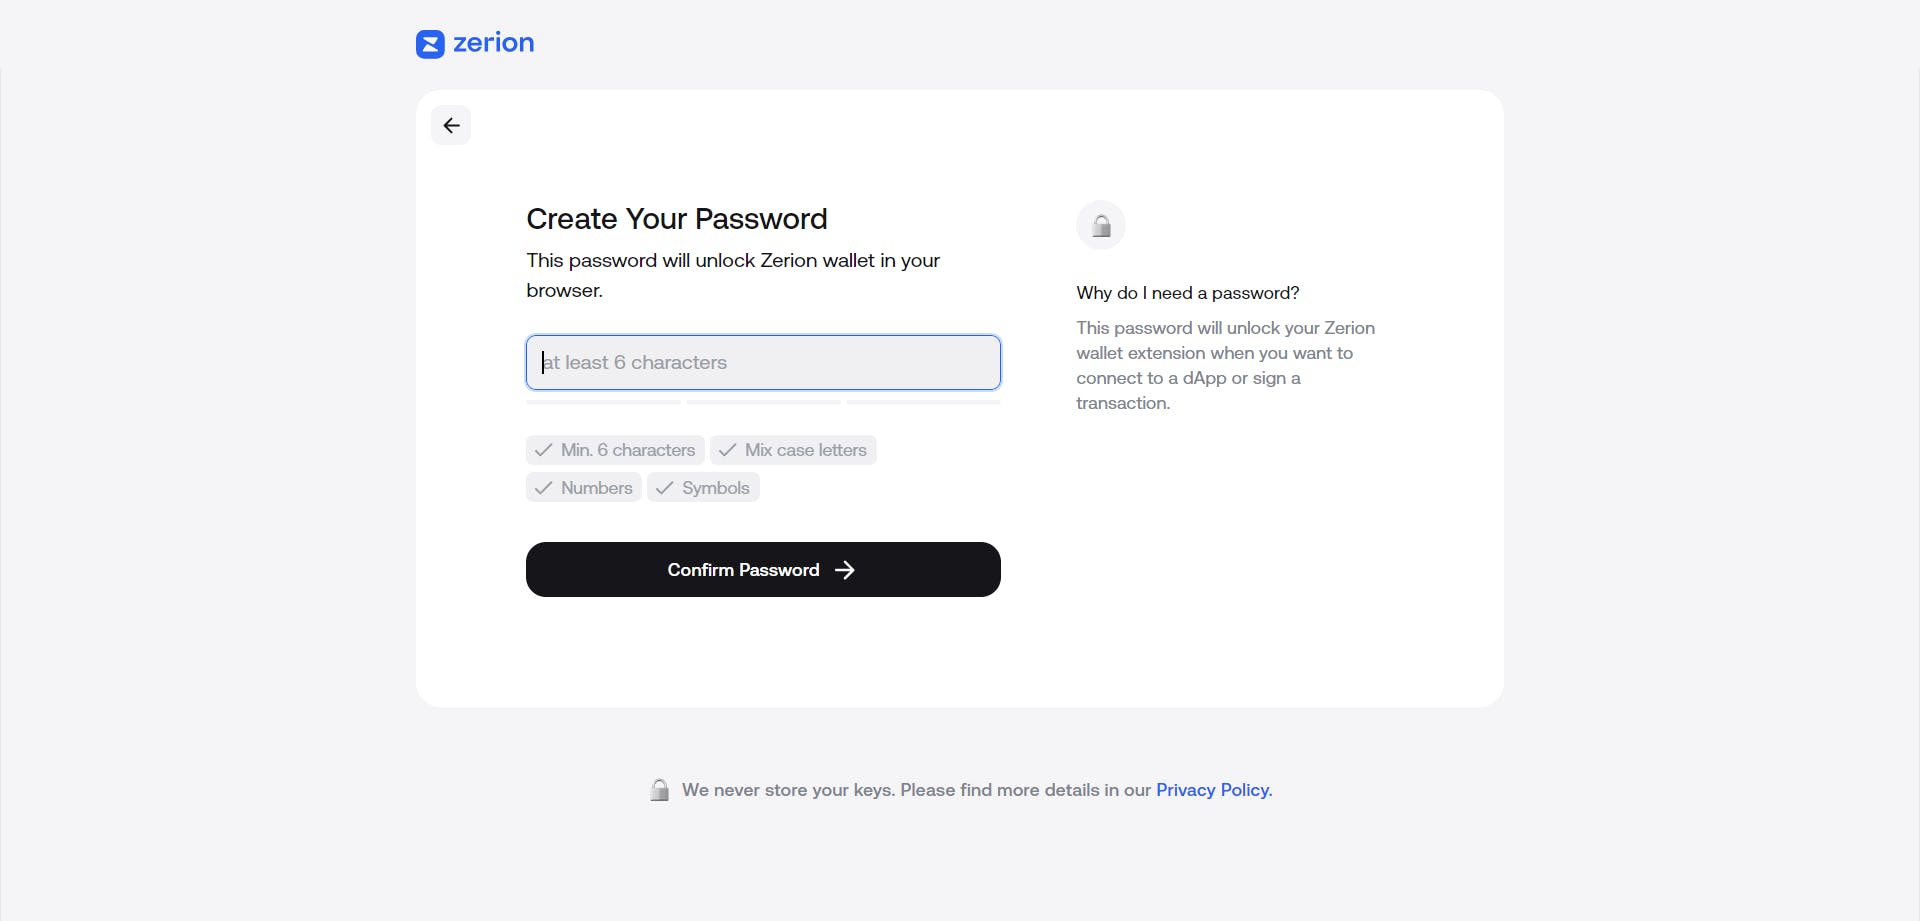
Set up a password that you will use to access your wallet extension on your PC at any time. Go ahead to verify it on the next page.
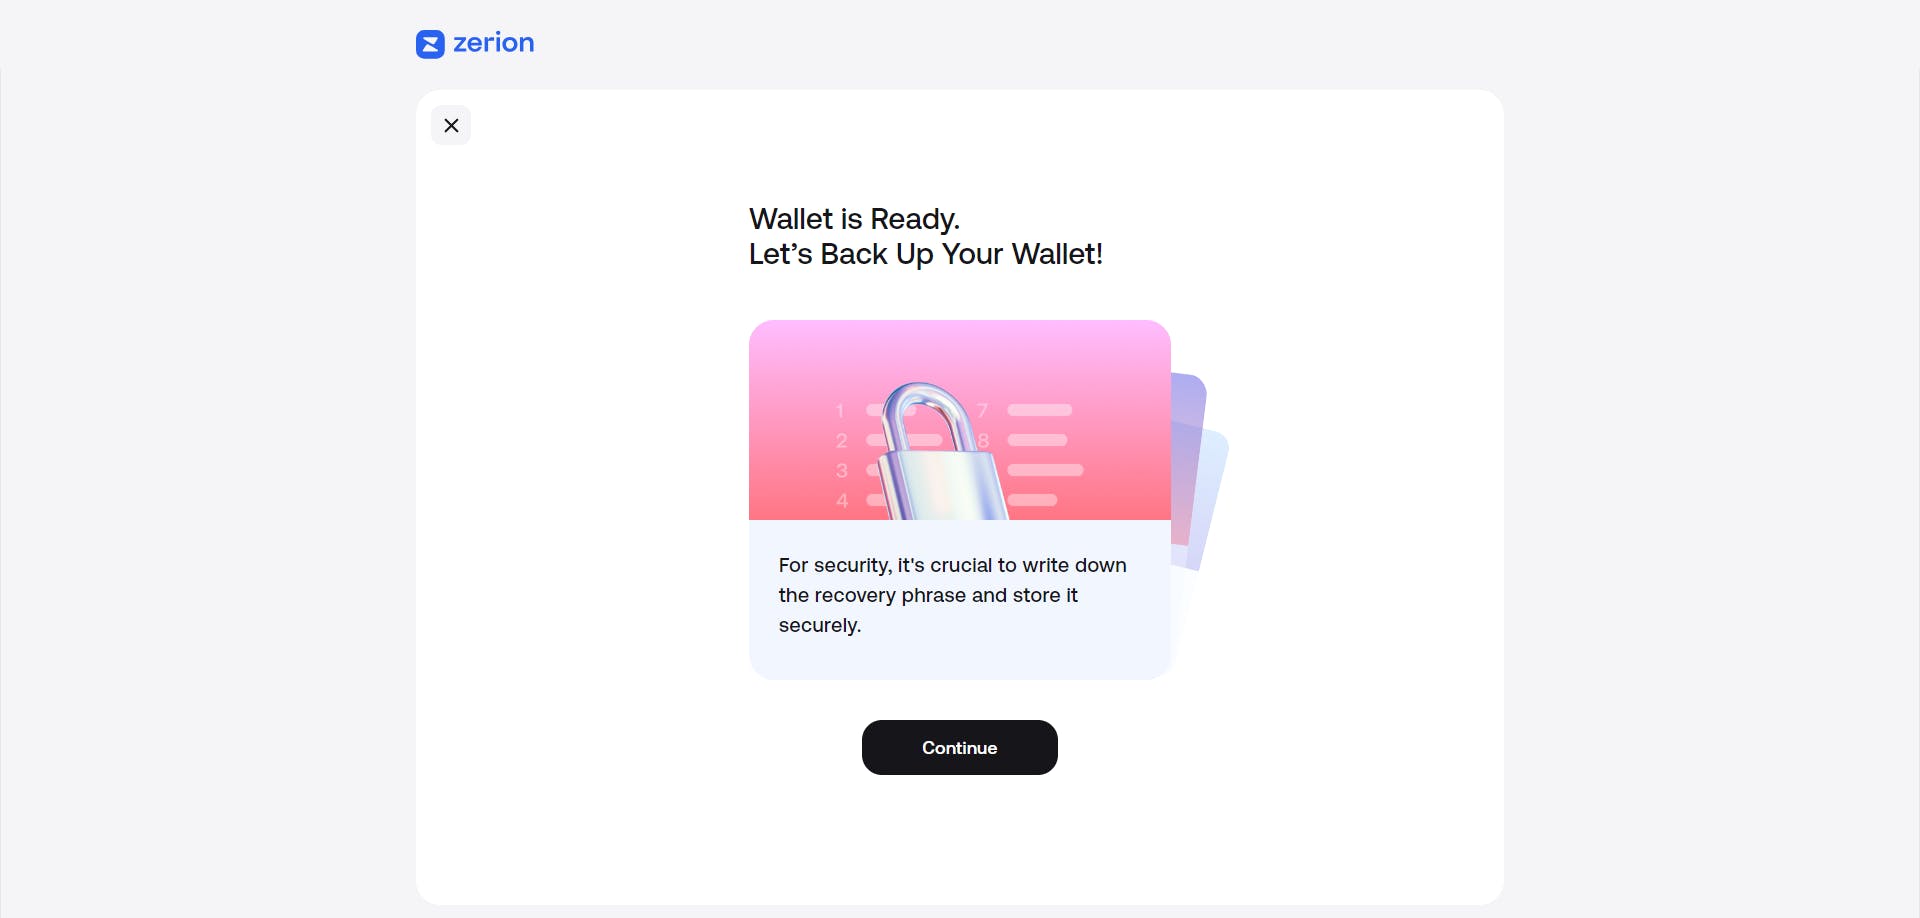
Move on to back up your wallet and verify the seed phrase just as I outlined above. A hard reminder to never skip this step!
The seed phrase will appear blurred, so tap the crossed-out-eye icon at the bottom right corner of the box. Write them down. Do not copy them to your clipboard.

Voila, you’ve successfully set up your wallet on PC! 🎉
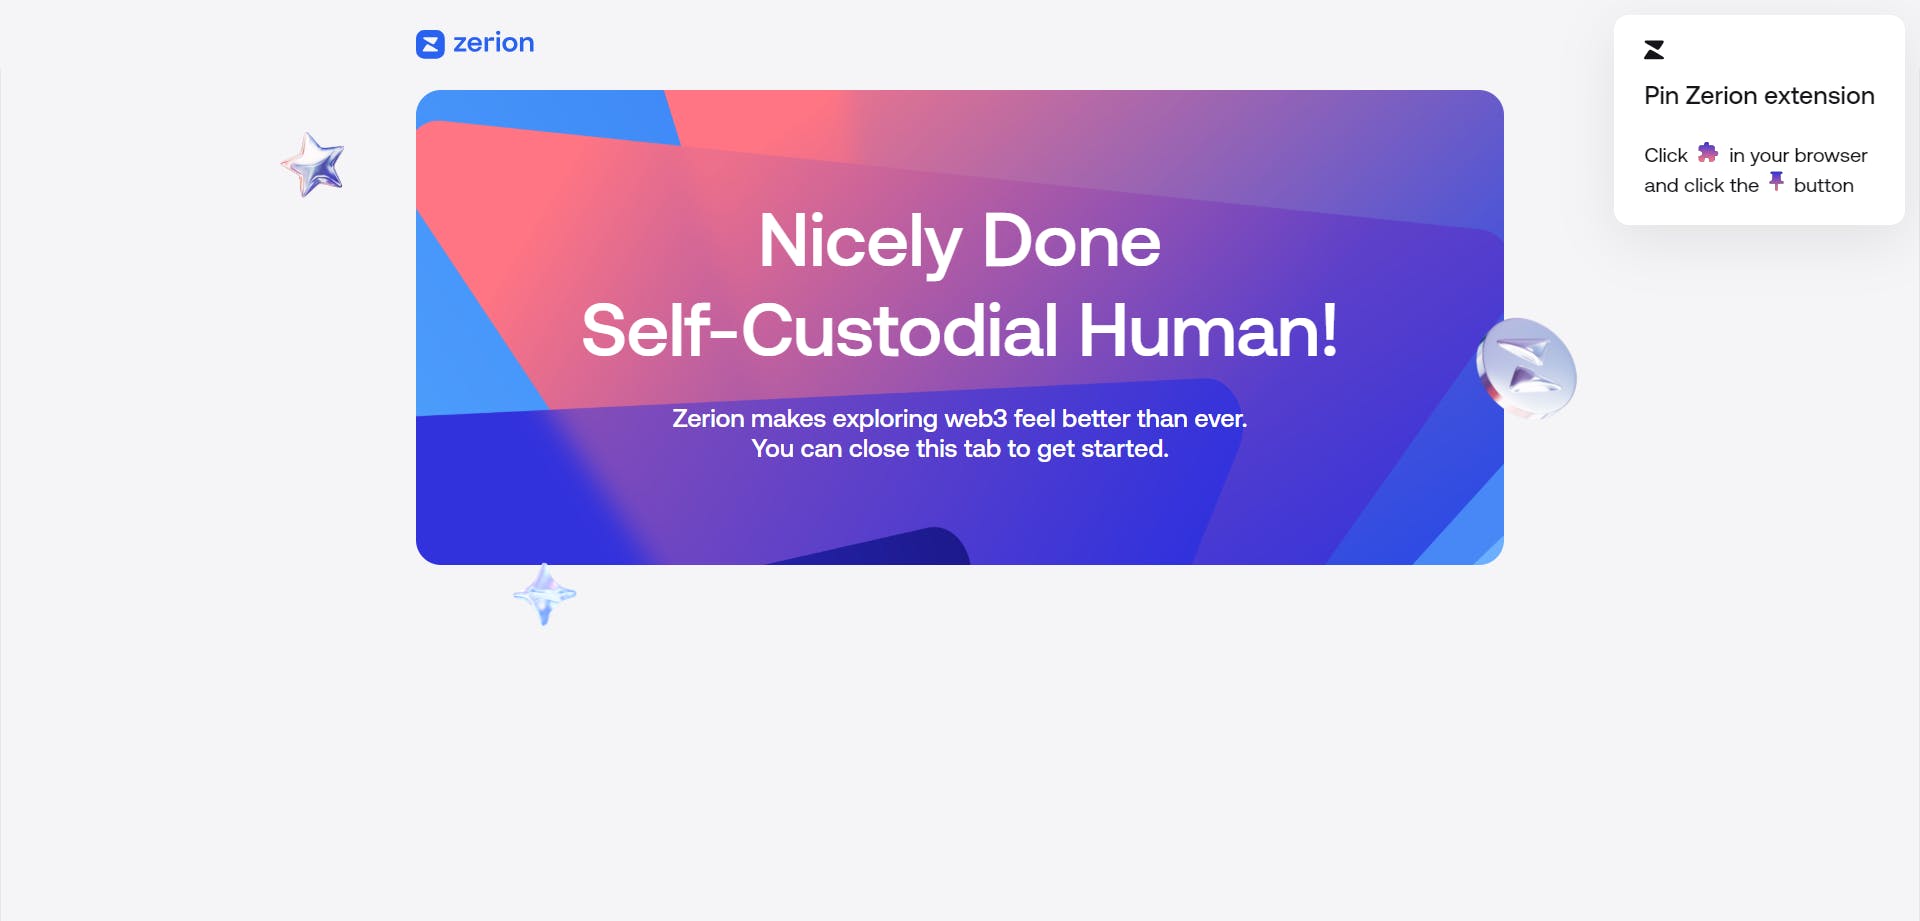
You now have your unique identity on Web 3.0. Your wallet is like a private username that you will use to interact with different applications in the space. Apps like Zerion make it easy to manage multiple wallets for different purposes, giving you flexibility and control over your assets.
Ready to unlock the full potential of your wallet? For the next phase in your journey, we'll be exploring the interface of your wallet on both the mobile app and wallet extension. See you then!